
Digital sticker artwork guide.
This guide provides a step-by-step process to ensure your sticker artwork is the best it can be. If you follow this guide, you’ll ensure that the artwork you provide delivers the best quality printed results.

Size your artwork correctly
Always make sure your artwork is sized correctly before completing your order. You can find details of sticker sizes and proportions on our website.

Be aware of Bleed & Safe Zone
When creating and uploading your artwork you must include a sufficient bleed. Don’t know what a bleed or safe zone are? Let us explain.

High resolution
For best printed results, please supply your artwork at a minimum of 300dpi.Having your artwork in a PDF/Vector format would produce the best printed results, but 300dpi + will also be sufficient.

CMYK
We print using a CMYK print process.
We have explained below what CMYK means, and how to set up your artwork in this colour mode.
If you want us to check over your artwork before placing an order, please feel free to drop us an email at hello@greyjampress.com and we will be happy to help you out.
What is bleed, and why do we have it?
Bleed is the part of your artwork that extends past the edge of the digital sticker. This is usually part of the background of your artwork and gets trimmed off when printing.

Why do we have bleed?
The bleed gets trimmed off when printing to ensure there are no white edges left on your printed artwork. It ensures a great final finish to the sticker.
How much bleed should I add?
We require 5mm of background extension past the edge of the piece to make up the bleed.
How to set it up?
Most design packages will give you the option to add a bleed to any design.
Some packages, such as Photoshop, don’t enable you to add a bleed. In this case, you’ll need to manually make your artwork 5mm larger on all sides of your artwork.
Example.
For example, if your sticker is 100mm x 50mm, add 5mm to each side resulting in the dimensions being 110mm x 60mm.
What is a safe zone, and why do we have it?
The safe zone is a section of every digital sticker where we recommend you keep all the important stuff (such as text, borders, etc.)
There’s a chance during the trimming process, that anything outside of the safe zone can be cut off. This is caused by the natural movement that happens during printing.
By keeping everything within the safe zone, you ensure that all essentials are included in every sticker.
How big is the safe zone?
The safe zone on every sticker is approximately 3mm from the sticker’s edge.
Why do we have a safe zone?
We have a safe zone to ensure nothing gets cut off when printing. If you had text going right to the edge of the label, there is a chance it will get trimmed off due to the natural movement when printing. The only part of your artwork that should cross this area should be the background.


What are CMYK and RGB and what are the differences?
CMYK is the most common digital print method. It is a colour mode made up of Cyan, Magenta, Yellow and Black (CYMK). It’s an effective print process that creates high quality finished results, however we may not be able to print in some bright colours.
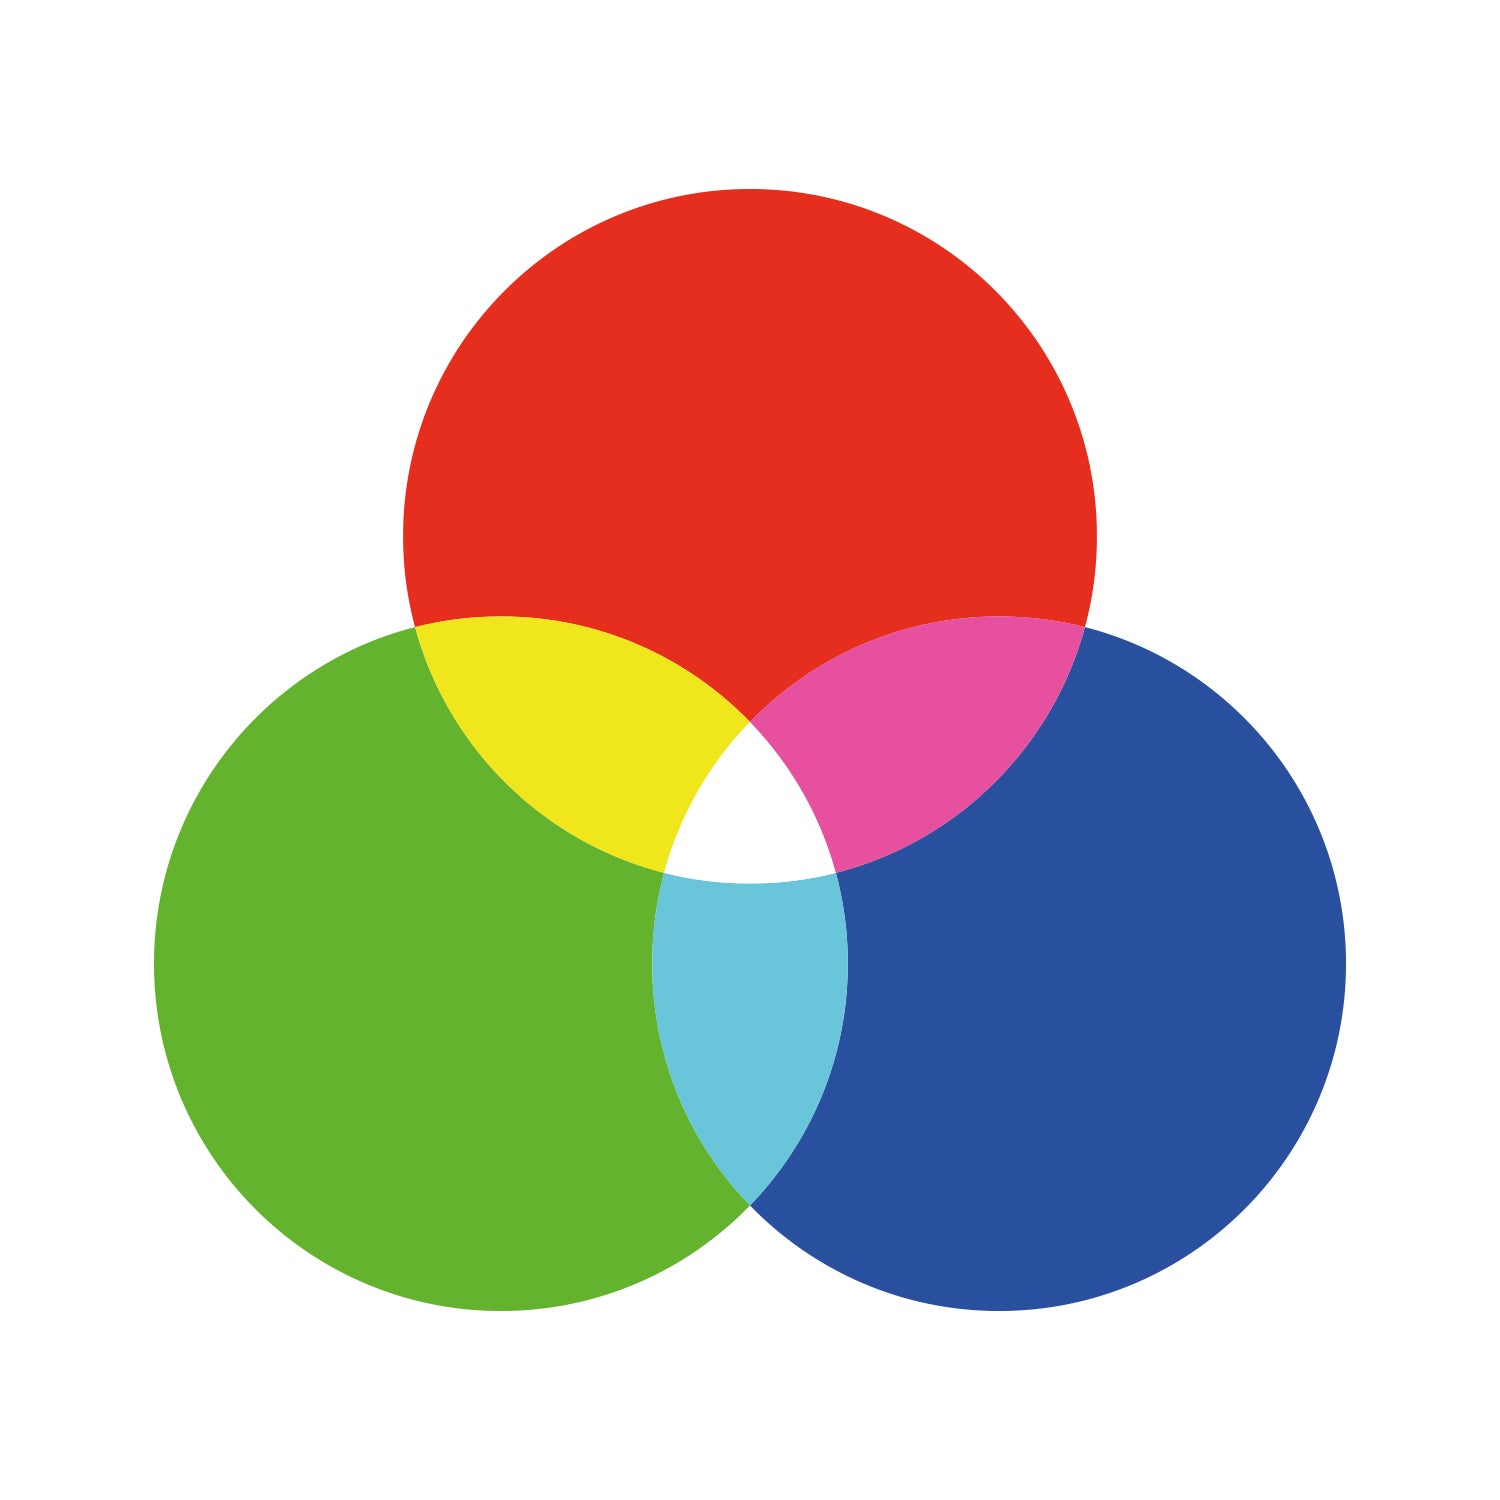
RGB is a colour mode made up of Red, Green and Blue (RGB) light. It is used in screens (those used on your computer, TV etc.) producing bright and vibrant colours. RGB is for displays and isn’t used for printing, so we use the closest CMYK equivalent.

What file formats do you need?
We have listed below some popular file formats that we accept.


If you don’t have artwork in any of these formats, contact us at hello@greyjampress.com and we can help you.

300dpi
300dpi artwork will produce high-quality print results.

72dpi
72dpi won’t produce high-quality results. The format is pixelated and is low resolution. The result is that printed stickers are of poor quality.
For the best results for artwork with text, we suggest it to be at least 6pt. If possible, provide all artwork as Vector PDF.